Product Introduction
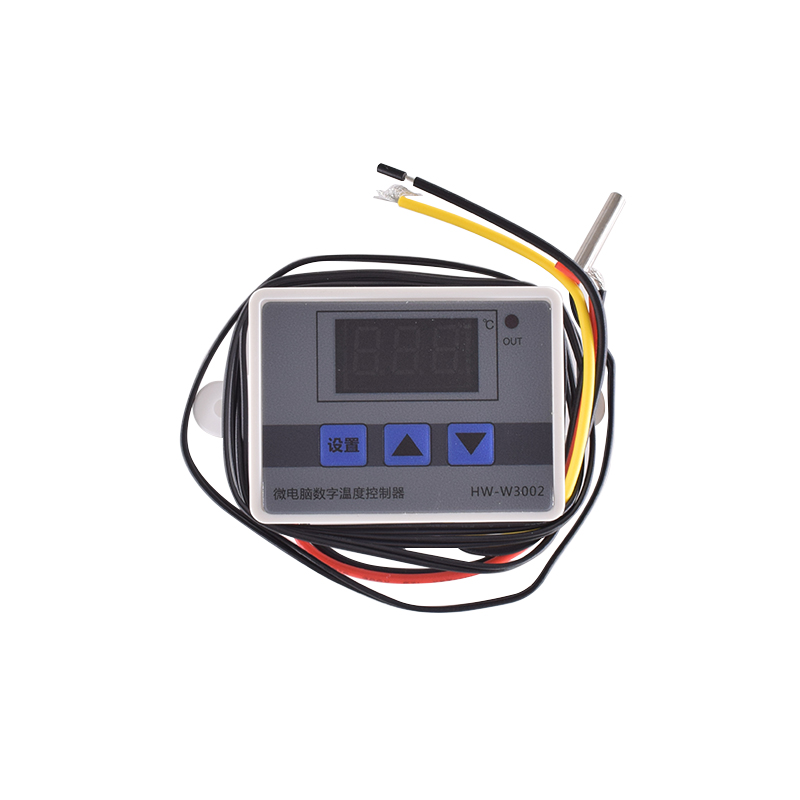
This product is a digital temperature control switch with multiple parameter settings and memory. The product is divided into DC12V, DC24V, and AC220V power supplies. The product comes with three buttons (set, add, subtract) to set appropriate parameters and achieve heating or cooling temperature control effects. In terms of display, a 3-digit digital display is used for users to directly read temperature values and view set parameters. At the same time, the product casing comes with double ear fixing holes for easy installation and fixation.
Product Parameter
Product Name: Microcomputer Temperature Controller
Product Name: HW-W3002
Power supply voltage: DC12V, DC24V, AC220V three versions are available for selection
Temperature measurement range:- 50~110℃
Temperature measurement accuracy: ± 0.1 ℃
Temperature control range:- 50~110℃
Temperature measurement accuracy: 0.1 ℃
Temperature probe: standard 1m waterproof probe
Applicable environment:- 15~55℃,20%~85%RH
Output type: Direct output
Appearance size: 60 * 45 * 31mm
Embedded opening: 73mm (Ø 4mm)
Product weight: around 51g
Matters Needing Attention
Simultaneously press and hold the up and down keys until the screen displays 888 to restore the factory settings.
The LLL displayed on the screen indicates that the temperature probe is not plugged in, open circuit, damaged, and can be replaced.
The screen displaying HHH indicates that the temperature probe is short circuited and exceeds the temperature detection range.
Product Funtions

| 设置参数表 Set parameter table | |||
| 代码 Code | 说明 Explain | 设置范围 Set scope | 出厂设置 Factory settings |
| P0 | 启动温度 Starting temperature | -50~110℃ | 25 |
| P1 | 停止温度 Stop temperature | -50~110℃ | 40 |
| P2 | 温度校正 Temperature correction | -10~10℃ | 0℃ |
| P3 | 延时启动 Delay start | 0~10 分钟/minute | 0分钟/minute |

Introduction to Key Settings
1. P0 sets the startup temperature
Press the settings button to enter the internal menu, which defaults to P0. Press the settings button again to set the desired startup temperature using the up and down buttons. Press to change the value, and hold it down continuously to change the value.
2. Set the stop temperature for P1
Press the settings button to enter the internal menu, which defaults to P0. Use the up and down keys to switch to P1, then press the settings button again to set the desired stop temperature.
3. P2 sets temperature calibration
Enter the internal menu in the same way, switch to P2 by pressing the up and down buttons, press the settings button again, and set the desired calibration temperature by pressing the up and down buttons. (Note: In the setting, if the detected temperature value is 0.5 ℃ higher than the actual temperature value, the calibration temperature that needs to be set is -0.5 ℃. If the detected value is 1 ℃ lower than the actual temperature, the calibration temperature that needs to be set is 1 ℃. The detected temperature+calibration temperature=actual temperature.)
4. P3 Set Delay Start
Enter the internal menu in the same way, switch to P3 by pressing the up and down buttons, press the settings button again, and set the required delay time in minutes by pressing the up and down buttons. (Note: Delay start is generally used for compressor cooling, and if used for refrigerators and freezers, this value needs to be set. Depending on the compressor back pressure, the general setting value is 3-6 minutes. If you are not using it for control or do not need the delay function, skip it directly.)
Product Use
Temperature mode
1. Heating mode
Setting essentials:
Start temperature<Stop temperature (the program automatically determines that the working mode is heating mode.)
Setting method:
Press the settings button to enter the internal menu, set the start temperature through P0 value, and set the stop temperature through P1 value.
Use case:
How to control the water heater to heat up to 50 ℃ and stop, and then heat up again when the temperature returns to 40 ℃?
1. Determine the working mode as heating mode and start temperature<Stop the temperature.
2. Press the settings button to enter the internal menu, select P0 startup temperature, and set P0 value to 40 ℃
3. Press the settings button to enter the internal menu, select P1 to stop the temperature, and set the P1 value to 50 ℃
2. Cooling mode
Setting essentials:
Start temperature>Stop temperature (the program automatically determines that the working mode is cooling mode.)
Setting method:
Press the settings button to enter the internal menu, set the start temperature through P0 value, and set the stop temperature through P1 value.
Use case:
Control the cabinet radiator, stop heating to 26 ° C, restart the radiator when the temperature returns to 30 ° C, how to set it?
1. Determine the working mode as cooling mode, with the starting temperature>stopping temperature.
2. Press the settings button to enter the internal menu, select P0 startup temperature, and set P0 value to 30 ℃
3. Press the settings button to enter the internal menu, select P1 to stop the temperature, and set the P1 value to 26 ℃
Product Precautions
How do I set the temperature for hatching chicks to 37.5 ℃~38 ℃?
1. Short press the settings button to display P0 on the screen, then short press the settings button to display the current startup temperature. Press the up/down button to adjust the startup temperature to 37.5 ℃ (automatically exits and saves after 5 seconds of inactivity).
2. Short press the settings button to display P0 on the screen, press the up button to switch to P1, then short press the settings button to display the current stop temperature, and press the up/down button to adjust the stop temperature to 38 ℃.
3. After the setting is completed, the thermostat will control the heating equipment to heat at 37.5 ℃. When the temperature rises to 38 ℃, the temperature will stop and drop to 37.5 ℃ before starting heating again in a continuous cycle.
I actually measured a temperature of 35 ℃, but the thermostat shows 35.6 ℃. How can I calibrate it?
Short press the settings button to display P0 on the screen, press the up button to switch to P2, and then press the settings button to display the current temperature calibration value. Press the up/down button to adjust the calibration to -0.6 ℃ (the temperature displayed on the thermostat is 0.6 ℃ higher than the actual measured temperature)
Product Size

Product Show


Payment&Transportation

Official Certificate&Certificate

Multiple product supply

Company office environment

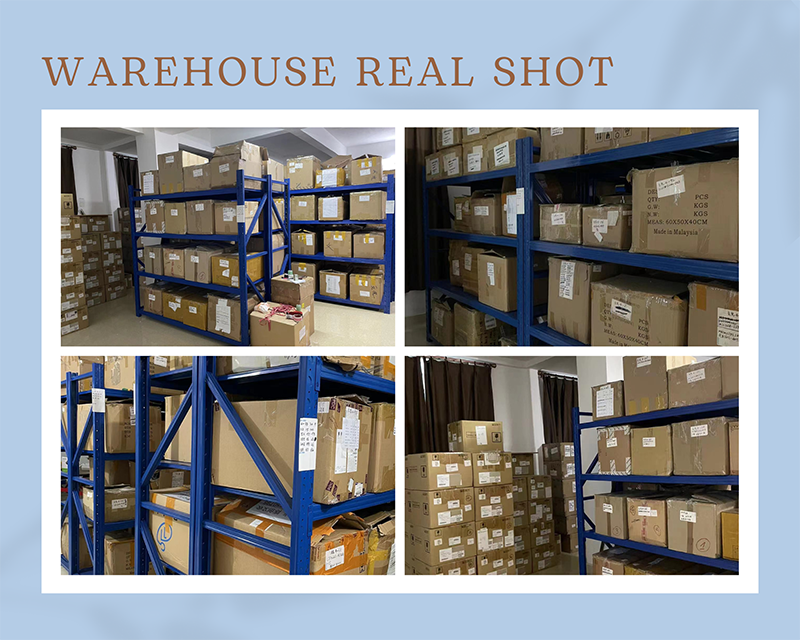
Warehouse Real Shot
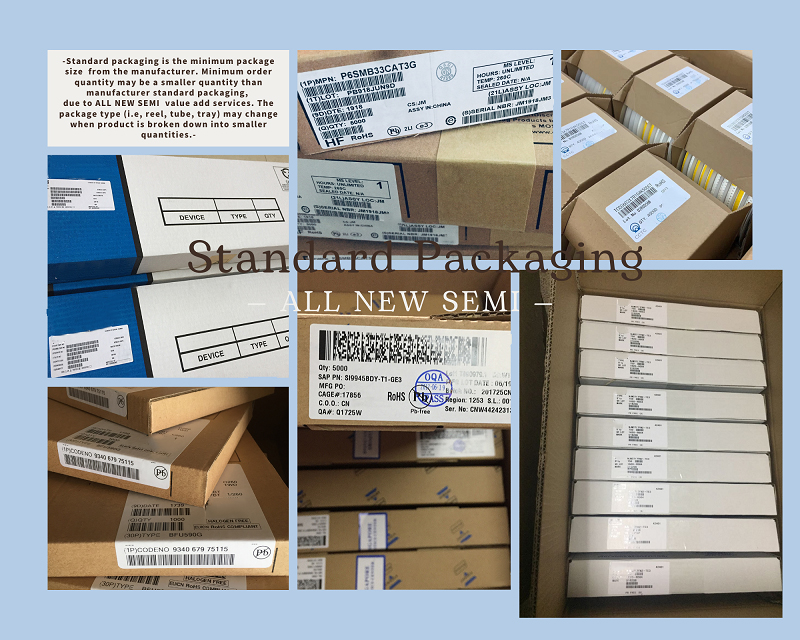
Standard packaging
We also provide :
| Part No | Manufacturer | Date Code | Quantity | Description |
| LM22676ADJ | NS | 19+ | 250 | SOP8 |
| TPS562201DDCR | TI | 22+ | 795500 | SOT23-6 |
| NJG1806K75 | JRC | 22+ | 500000 | DFN6 |
| TLV74318PDQNR | TI | 22+ | 402000 | X2SON-4 |
| NJG1801K75 | JRC | 22+ | 300000 | SMD |
| NJG1804K64 | JRC | 22+ | 300000 | DFN8 |
| LM27761DSGR | TI | 22+ | 151000 | WSON8 |
| TLV62565DBVR | TI | 22+ | 138000 | SOT23-5 |
| TPS613222ADBVR | TI | 22+ | 108000 | SOT23-5 |
| LNK625DG-TL | POWER | 22+ | 100000 | SOP-8 |
| OPA4322AIPWR | TI | 22+ | 100000 | TSSOP14 |
| TLV75528PDRVR | TI | 22+ | 99000 | WSON-6 |
| TPS7A2025PDQNR | TI | 22+ | 78500 | X2SON-4 |
| TLV62568DBVR | TI | 22+ | 72000 | SOT23-5 |
| STM32L051K8U6TR | ST | 22+ | 60000 | QFN32 |
| SKY66421-11 | SKYWORKS | 22+ | 56500 | QFN16 |
| TPS7A1111PDRVR | TI | 22+ | 54000 | WSON6 |
| TLV62569PDDCR | TI | 22+ | 52000 | SOT23-6 |
| TLV62569DBVR | TI | 22+ | 48000 | SOT23-5 |
| TPS23753APWR | TI | 22+ | 40000 | TSSOP14 |
| NB691GG-Z | MPS | 22+ | 30000 | QFN |
| SN74AHC1G02DBVR | TI | 22+ | 27939 | SOT-23 |
| TPS63000DRCR | TI | 22+ | 23238 | VSON10 |
| TLV75533PDRVR | TI | 22+ | 21500 | WSON6 |
| NB687BGQ-Z | MPS | 22+ | 20000 | QFN |
| A3916GESTR-T-1 | ALLEGRO | 22+ | 17150 | QFN-20 |
| TPS62135RGXR | TI | 22+ | 15000 | VQFN11 |
| TLE2022AMDR | TI | 0803+ | 12500 | SOP8 |
| TPS23756PWPR | TI | 22+ | 12000 | HTSSOP-20 |

